DIY Wall Plastering in Bali: Can You Do It Yourself? Honest Guide
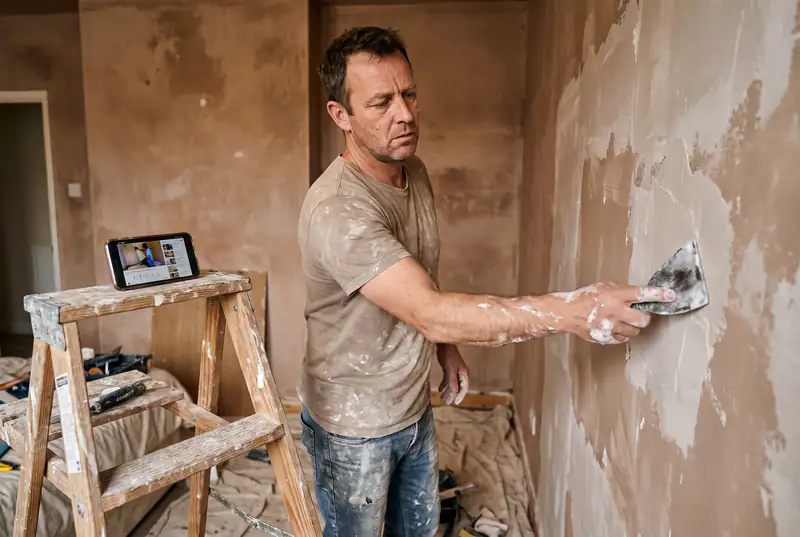
Yes — you can plaster a wall yourself, and this is not the article where a contractor spends two thousand words scaring you out of it. Plenty of Bali owners have skim coated a bedroom over a weekend and been happy with it. But there’s a real line between the jobs an amateur can do well and the jobs where you’ll quietly make the wall worse, and most guides won’t draw it for you. We fix DIY walls every month, so here it is, drawn honestly: what you need, how to do it, where it goes wrong, and when to stop.
What’s realistic to DIY — and what isn’t
Plastering is not one skill; it’s a stack of them, and the layers differ wildly in difficulty. Realistic for a careful amateur: skim coating a small, structurally sound interior wall with ready-mixed putty; filling minor dents and screw holes; sanding and repainting. Skim compound is slow, forgiving and sandable — every mistake can be corrected the next morning. Not realistic: full cement render (plesteran), where you’re managing mix water, suction, thickness and flatness simultaneously on a clock; ceilings, where gravity charges interest on every error; exterior facades, which face driving rain from November to March; and anything decorative like Venetian plaster. Between those poles, be guided by area: one 10–12 m² wall is a project, a whole villa is a trade. If you want the deeper background on how the full system goes together, our wall plastering page explains each layer from render to paint.
The shopping list: tools and materials with Bali prices
Everything below is stocked at Depo Bangunan, Mitra10 or any decent toko bangunan in Denpasar or Kerobokan. 2026 street prices:
| Item | What it’s for | Price (IDR) |
|---|---|---|
| Stainless finishing trowel | Applying and smoothing skim | 150,000–300,000 |
| Hawk (plasterer’s board) | Holding mud at the wall | 100,000–200,000 |
| Aluminium straightedge, 2 m | Checking flatness | ~250,000 |
| Mixing paddle for a drill | Lump-free mixing | ~100,000 |
| Spatulas / filling knives, 3 sizes | Corners, patches, detail | 60,000–120,000 |
| Sanding block + mesh, 120–180 grit | Flattening between coats | ~80,000 |
| Work lamp or strong torch | Raking light to reveal waves | 100,000–200,000 |
| A-Plus wall putty, 40 kg bag | Covers ~12–15 m² in 2 coats | ~150,000 |
| Acrylic primer / sealer, 5 kg | Controls suction, secures bond | 150,000–250,000 |
Total for a first wall: roughly IDR 1.2–1.6 M, most of it reusable tools. For comparison, our crew’s rate for skim coating starts at IDR 75,000/m² with materials — current numbers for every trade are on the pricing page. On one wall, DIY saves you little; the economics only start working if you’ll do several rooms and enjoy the process.
What DIY actually saves — the honest math
Run the numbers before the romance. One 12 m² bedroom wall at our skim rate is about IDR 900,000; your DIY version costs roughly IDR 300,000 in materials plus a weekend, and you own IDR 1.2 M of tools afterwards. Verdict: you did it for the experience, not the savings. Four rooms — say 130 m² of walls — change the picture: crew price around IDR 9.75 M, DIY materials about 1.6 M plus the same tool kit, so you pocket roughly 8 M for six to eight weekends of work. That’s IDR 1–1.3 M per weekend of dusty, shoulder-burning labour. Some owners find that trade genuinely satisfying; others realise by wall two that their time prices differently. Both answers are correct — just decide with the arithmetic in front of you, not mid-project.
Step-by-step: skim coating your first wall
1. Prepare the surface. Scrape off flaking paint, dig out crumbly patches, and wash off dust and mould. If the wall has real cracks — not pinholes — stop and read our guide on why walls crack in Bali first; skimming over a live crack just relocates the problem. Mask the floor, sockets and skirting.
2. Prime, and let it dry fully. One even coat of acrylic sealer. Bali render is thirsty; unprimed, it sucks the water out of your skim in seconds and the putty drags, tears and later powders. Two hours minimum, overnight is better.
3. Mix to yoghurt, not soup. Powder into water, paddle on a slow drill, rest five minutes, mix again. You want thick Greek yoghurt — a blob should sit on the trowel without sliding. Mix small batches; Bali heat kills a bucket of putty in about an hour.
4. Two thin coats. First coat: load the hawk, sweep upward strokes at a low angle, aiming for under 2 mm — coverage matters, perfection doesn’t. Let it dry (3–6 hours in dry season, longer in the wet). Knock off ridges with the spatula, then apply the second coat at 1–2 mm, working across the first coat’s direction.
5. Sand under a raking light. After 24 hours, hold your lamp flat against the wall so the beam skims the surface — every wave and trowel mark throws a shadow. Sand with 150–180 grit in circles, chase the shadows, wipe the dust, prime again, and only then paint. A Dulux or Nippon interior emulsion needs the skim bone-dry: 48 hours minimum, and honestly longer in Ubud’s humidity.
The five mistakes we get called in to fix
None of these are talent problems — they’re information problems, so here’s the information. One thick coat instead of two thin ones: thick putty shrinks as it dries, cracks in a crazed pattern, and sags into bellies that take brutal sanding to remove. Mix too wet: soupy putty is easier to spread and impossible to build — it shrinks more, dries weaker and dusts when sanded. No primer: the skim grips poorly, dries patchily and can peel off with the first coat of paint — the most common failure we see, and the most avoidable. Sanding without side light: the wall feels smooth under your palm, then the afternoon sun rakes through the window and reveals an ocean of waves. Overhead room lighting hides everything; a cheap lamp held at the wall shows the truth. Painting too soon: paint over damp skim blisters, peels or grows shadowy damp marks within weeks. Bali’s humidity roughly doubles every drying time printed on the bag — the bag was written for a drier country.
When you shouldn’t do it without a specialist
Some jobs punish learning-by-doing, and it’s cheaper to know in advance. Whole villas or large areas — 200 m² at amateur pace is a month of evenings, and flatness across long sightlines is genuinely hard. Ceilings — slow, overhead, and mistakes literally fall on you. Venetian and decorative finishes — burnishing lime plaster is a craft with years of apprenticeship behind it; materials alone (San Marco, Kerakoll) cost too much to practise on. Cracked or damp walls — cosmetic skim over an active crack or a moisture problem fails on schedule; diagnose first. Anything with a deadline — if the villa photographer or your first guests arrive in three weeks, this is not the month to learn a trade. And if you’re mid-project in Canggu or Pererenan and it’s already going sideways, stop before the fix gets bigger — rescuing a half-done wall is usually more work than starting clean.
Want to try it yourself? We’ll help you figure it out
This might sound strange coming from a plastering company, but we’d rather you tried a wall with good advice than badly — DIYers who understand the trade become our best clients for the jobs that really need a crew. So the offer is simple and free: message us on WhatsApp with photos of your wall and what you want to achieve, and we’ll tell you honestly whether it’s DIY-able without special equipment, what to buy for it, and which parts to leave alone. No site-visit fee, no obligation, no “actually you should hire us” unless the wall genuinely needs it — and if it does, we’ll explain why in plain language.
This article is for general guidance only. We are not responsible for the results of DIY work.